Published: Apr 22, 2023 by Enock N.
This guide is intended to serve as a basic introduction for using SpiderSuite to perform target site crawling, and Bruteforcing. This guide is especially useful if you are new to crawling with SpiderSuite. On that note, this document is not intended to be a comprehensive guide for using SpiderSuite.
Target
The target for this guide is https://security-crawl-maze.app, a website for testing the capabilities and reach of web security crawlers.
Launching
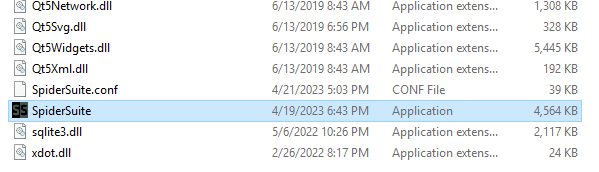
Start SpiderSuite application in your system. For this guide I am using windows portable version of SpiderSuite.
Open the SpiderSuite folder and start SpiderSuite.
Configurations
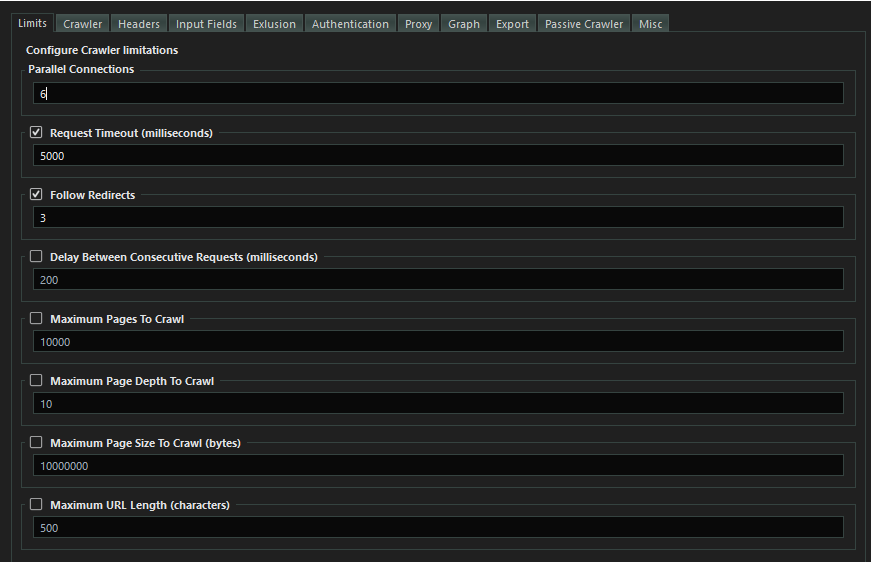
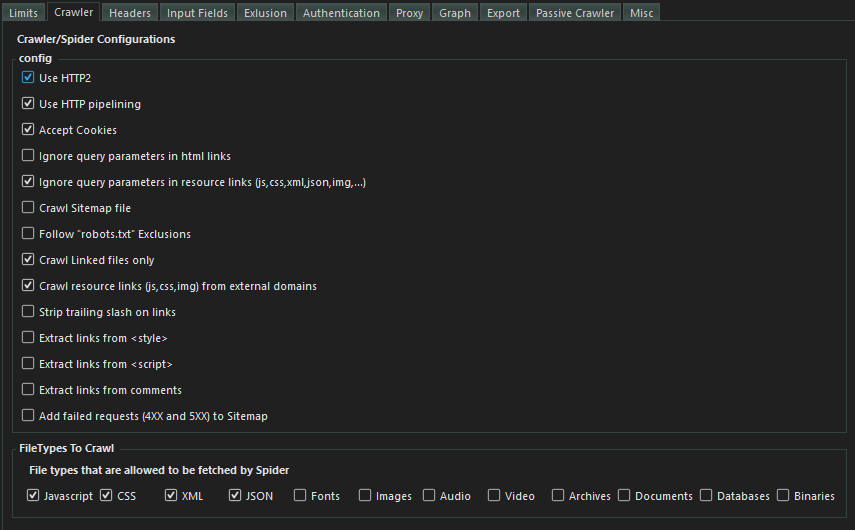
Set the most optimal configurations for the crawler.
- Click on the configurations icon on the
tool bar.
- Set the crawling limits you prefer.
- Set the crawling options.
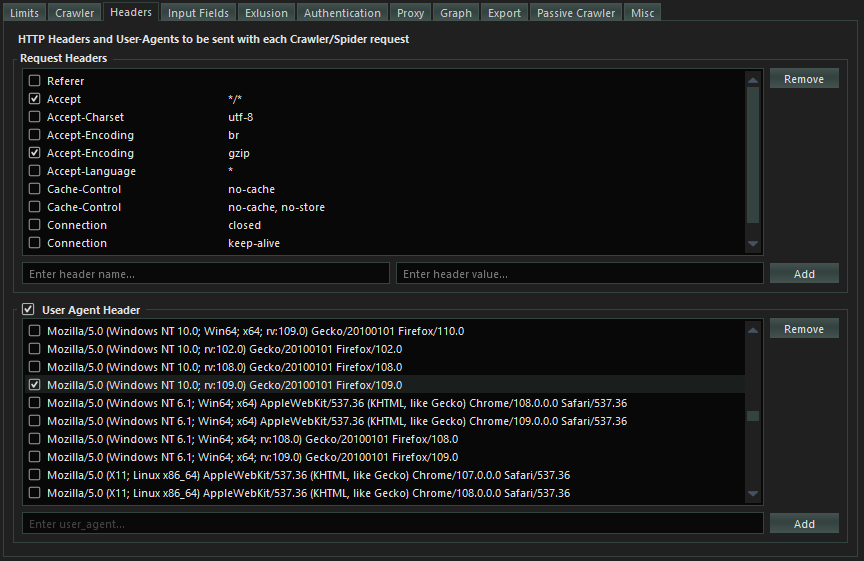
- Set the request headers to use for crawling.
You could add other configurations from the remaining configuration sections but for this particular example only the set configurations are enough.
- Save the configurations by clicking on the
Savebutton.

Please Note:
Make sure you uncheck(unset) the proxy if you are not using proxy for the current crawl as all request will be directed towards the proxy if you have set one and it is very easy to forget that you previously set to use a proxy.
Crawling target
This is the simplest type of crawl as you just enter the target link and click on Crawl button and just wait for the crawl to finish.

You can Pause and Resume or completely Stop the crawling at any point during crawling.

Advance Crawling.
SpiderSuite has advance crawling options:
This advance crawling can be accessed by clicking on the [...] button.

Crawling target with initial seed links
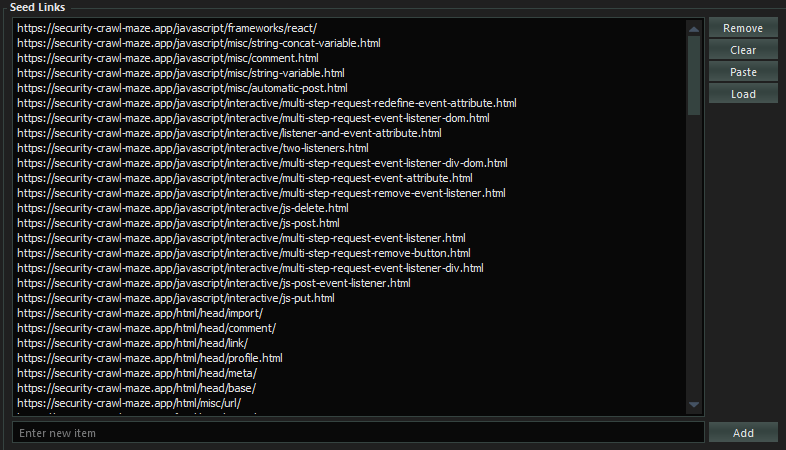
With SpiderSuite you have the ability to provide an initial list of links (seed links) of the particular target and they will be added to the crawler queue of links to be crawled.
- Enter Target link

- Add Seed links
Note: The provided list of links should all relate (have the same hostname) to the main target link as the crawler uses the main target link as the reference point for all the links to be crawled.
- Click on
Crawlto begin crawling
Fetching list of links
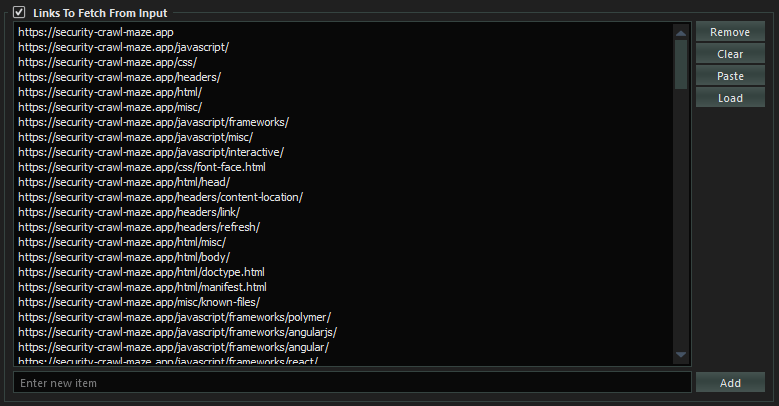
With SpiderSuite you also have the ability to fetch a provided list of links.
This type of crawling (fetching) does not crawl any additional links extrated from the crawled pages. Only the provided links will be crawled.
- You can provide file containing the list of links to be fetched. This is ideal for fectching a very long list of links as the file is not loaded into memory(it uses a streaming api to get line after line of link from the file and fetches it)

- Or you can input the list of links to be fetched. This is ideal for fetching a small to medium list of links as the list is stored in memory.
- Start the crawling by clicking on
Fetchbutton.

Bruteforcing pages/directories
Lastly SpiderSuite also has the ability to bruteforce target sites’s directories(pages). This is a useful feature for scoping directories and files that may be hidden.
- Set the target link(url).

- You can provide file containing the wordlist pages/directories to be used for bruteforcing. This is ideal for bruteforcing with a very long wordlist as the file is not loaded into memory(it uses a streaming api to get line after line of page name from the file, append it to the target link and fetch it).

- Or you can input the wordlist for bruteforce. This is ideal for small to medium worldlist.
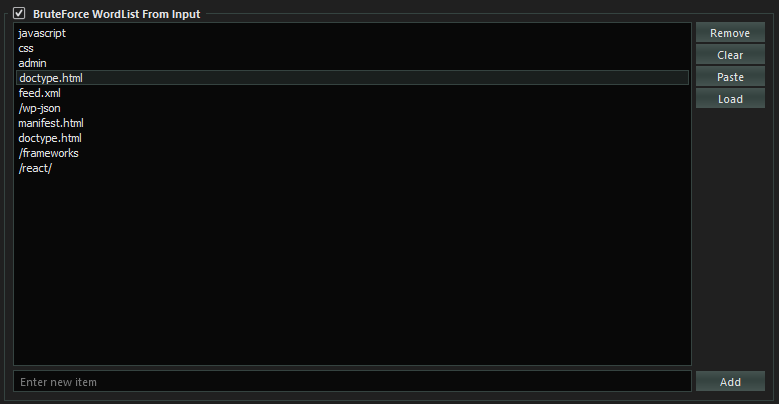
- Start bruteforcing by clicking on
Bruteforcebutton.

Sitemap
All the results from Crawling, Fetching and Bruteforcing will be displayed on SpiderSuite’s Sitemap.
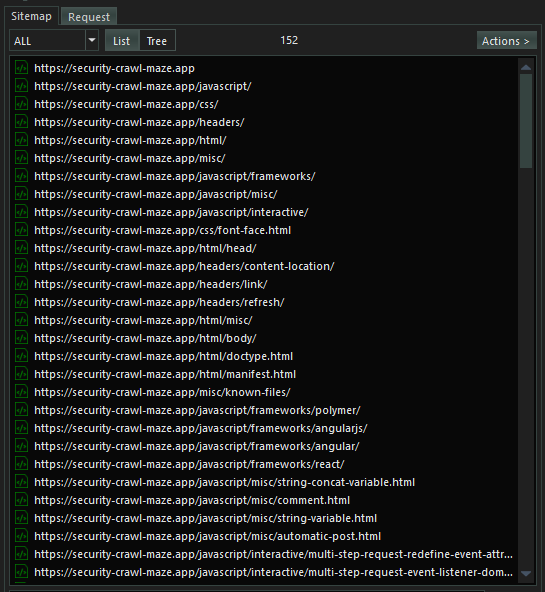
The actual pages are already saved on SpiderSuite’s current project database (.sspd) file.
To view content of any page on the sitemap simply click on it and all its content will be displayed on the structure and source tab

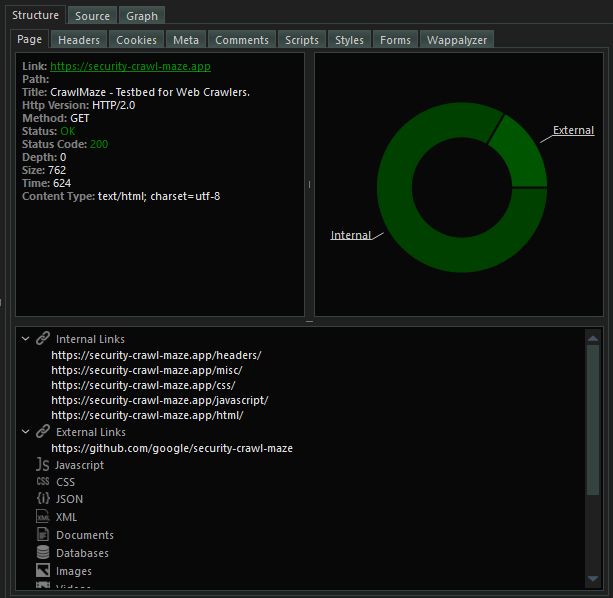
You can browse the structure and source tab to view all the content extracted from the particular page you clicked on.
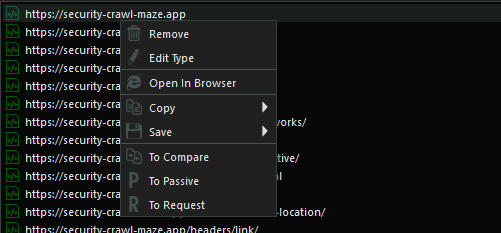
You can perform desired actions on a page on sitemap by right clicking on it and choosing the action you want to perform.
Or You can perform desired actions on the entire list on sitemap by clicking on the Actions button. Please note that the Actions button is only activated if there are links on the sitemap.
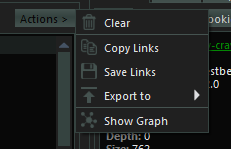
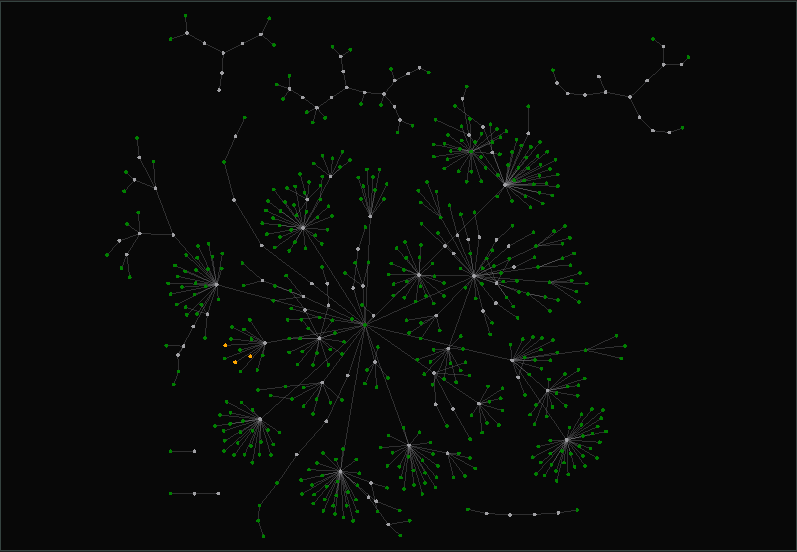
Graph
SpiderSuite has the capabilities of visualizing the links on the sitemap using a graph and also ability to manipulate the graph to your liking.
- Visualize the Entire sitemap’s on a graph.
Simply click on the Actions button and click on Show Graph action to visualize the graph.
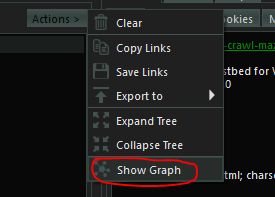
- Visualize a sitemap branch on a graph.
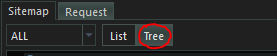
First change the Sitemap’s view to Tree view.
Then Simply right click on the branch you want to visualize and click on Show Graph. This will only show the graph for that particular choosen branch.

- The Graph
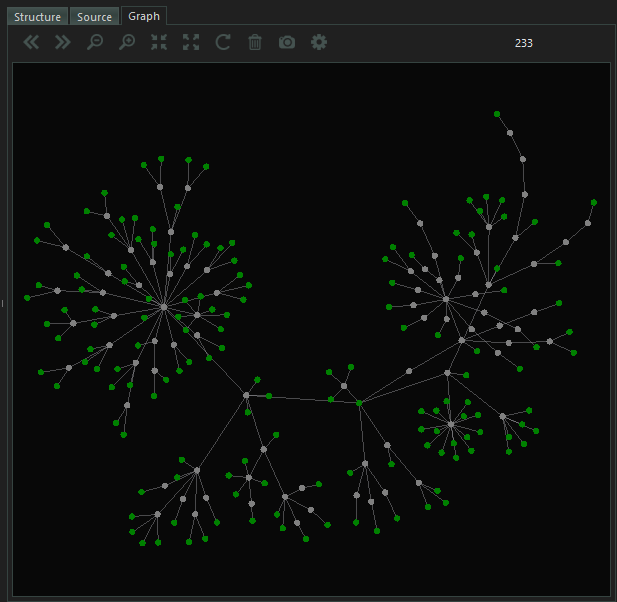
- You can manipulate the graph to you linking by simply clicking on the
Configicon on graph menu bar and set your desired configurations.
Conclusion
This is just a brief guide on how to get starting with crawling using SpiderSuite. As I know getting started with a new software can sometimes be hard to do but i have tried to design SpiderSuite to be easy to use and I will continue to write many articles and blog posts on the use cases of SpiderSuite.
This article will be modified as days go on, so please revisit this post to see if there are any updates.
Thank you for your time.